A Quick and Easy Guide to Fertilizing Your Lawn
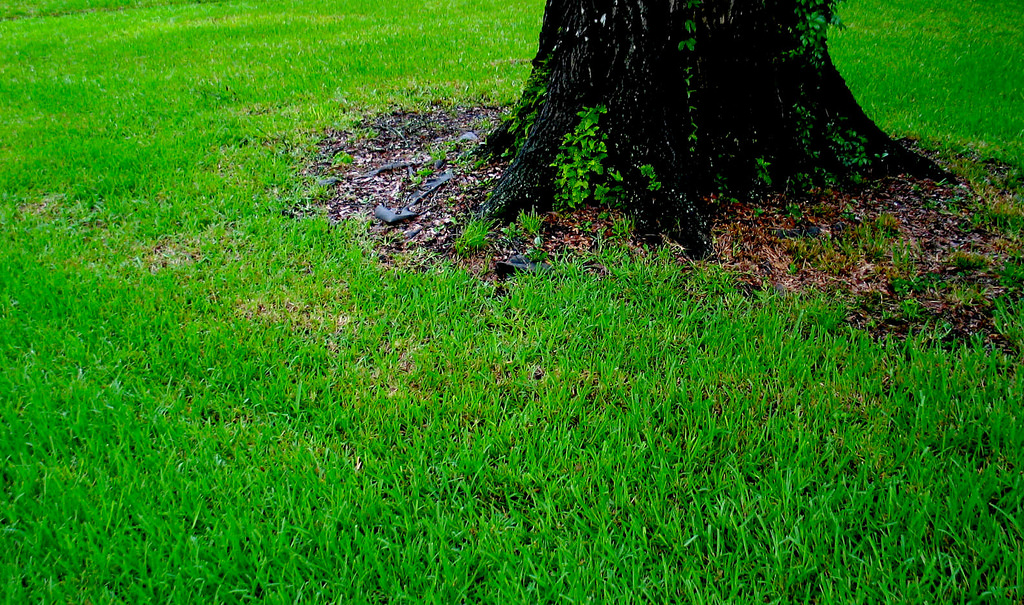 Fertilizing is very important for grass to grow healthy, green and lush. It gives the grass and its plants all the required nutrients it needs to grow, as well as the ability to resist diseases and survive the hot and cold weather. In this guide you can find all the tips and tricks you need for successful fertilization, so keep reading to have the greenest and healthiest grass on the block. What Is Fertilizer? First of all, it is important to understand what fertilizer is. Fertilizer functions more like a set of building blocks rather than as food for your lawn, as we usually perceive it. Your lawn plants use these blocks to put all of their parts together in a way. The main ingredients are nitrogen, phosphorus, and potassium, and their percentage is marked on the label in that order as N-P-K. Each of these ingredients has its own role. The nitrogen takes care of the green parts of the plant, i.e., makes the grass greener and grow faster. The phosphorous serves for the development of roots, and roots are very important for grass and plants because they support them and help them spread, so that you have a thick and lush lawn. The potassium gives strength to the plants’ cells and helps them develop disease resistance as well as tolerance to hot and cold weather. Which Fertilizer Should I Use? Fertilizer comes in two forms – there are synthetic ones and the organic ones. Both types have the required ingredients – nitrogen, phosphorous, and potassium – so it doesn’t matter which one you use. The main difference is in the way they work, i.e., how long they last. The synthetic fertilizers are usually timed and coded, so those particles usually last for around four to six weeks. When it comes to organic ones, they break down relatively slowly. They are broken down by the good bacteria and fungi from the soil, so they provide natural slow-release, long-lasting nutrients for your lawn.
 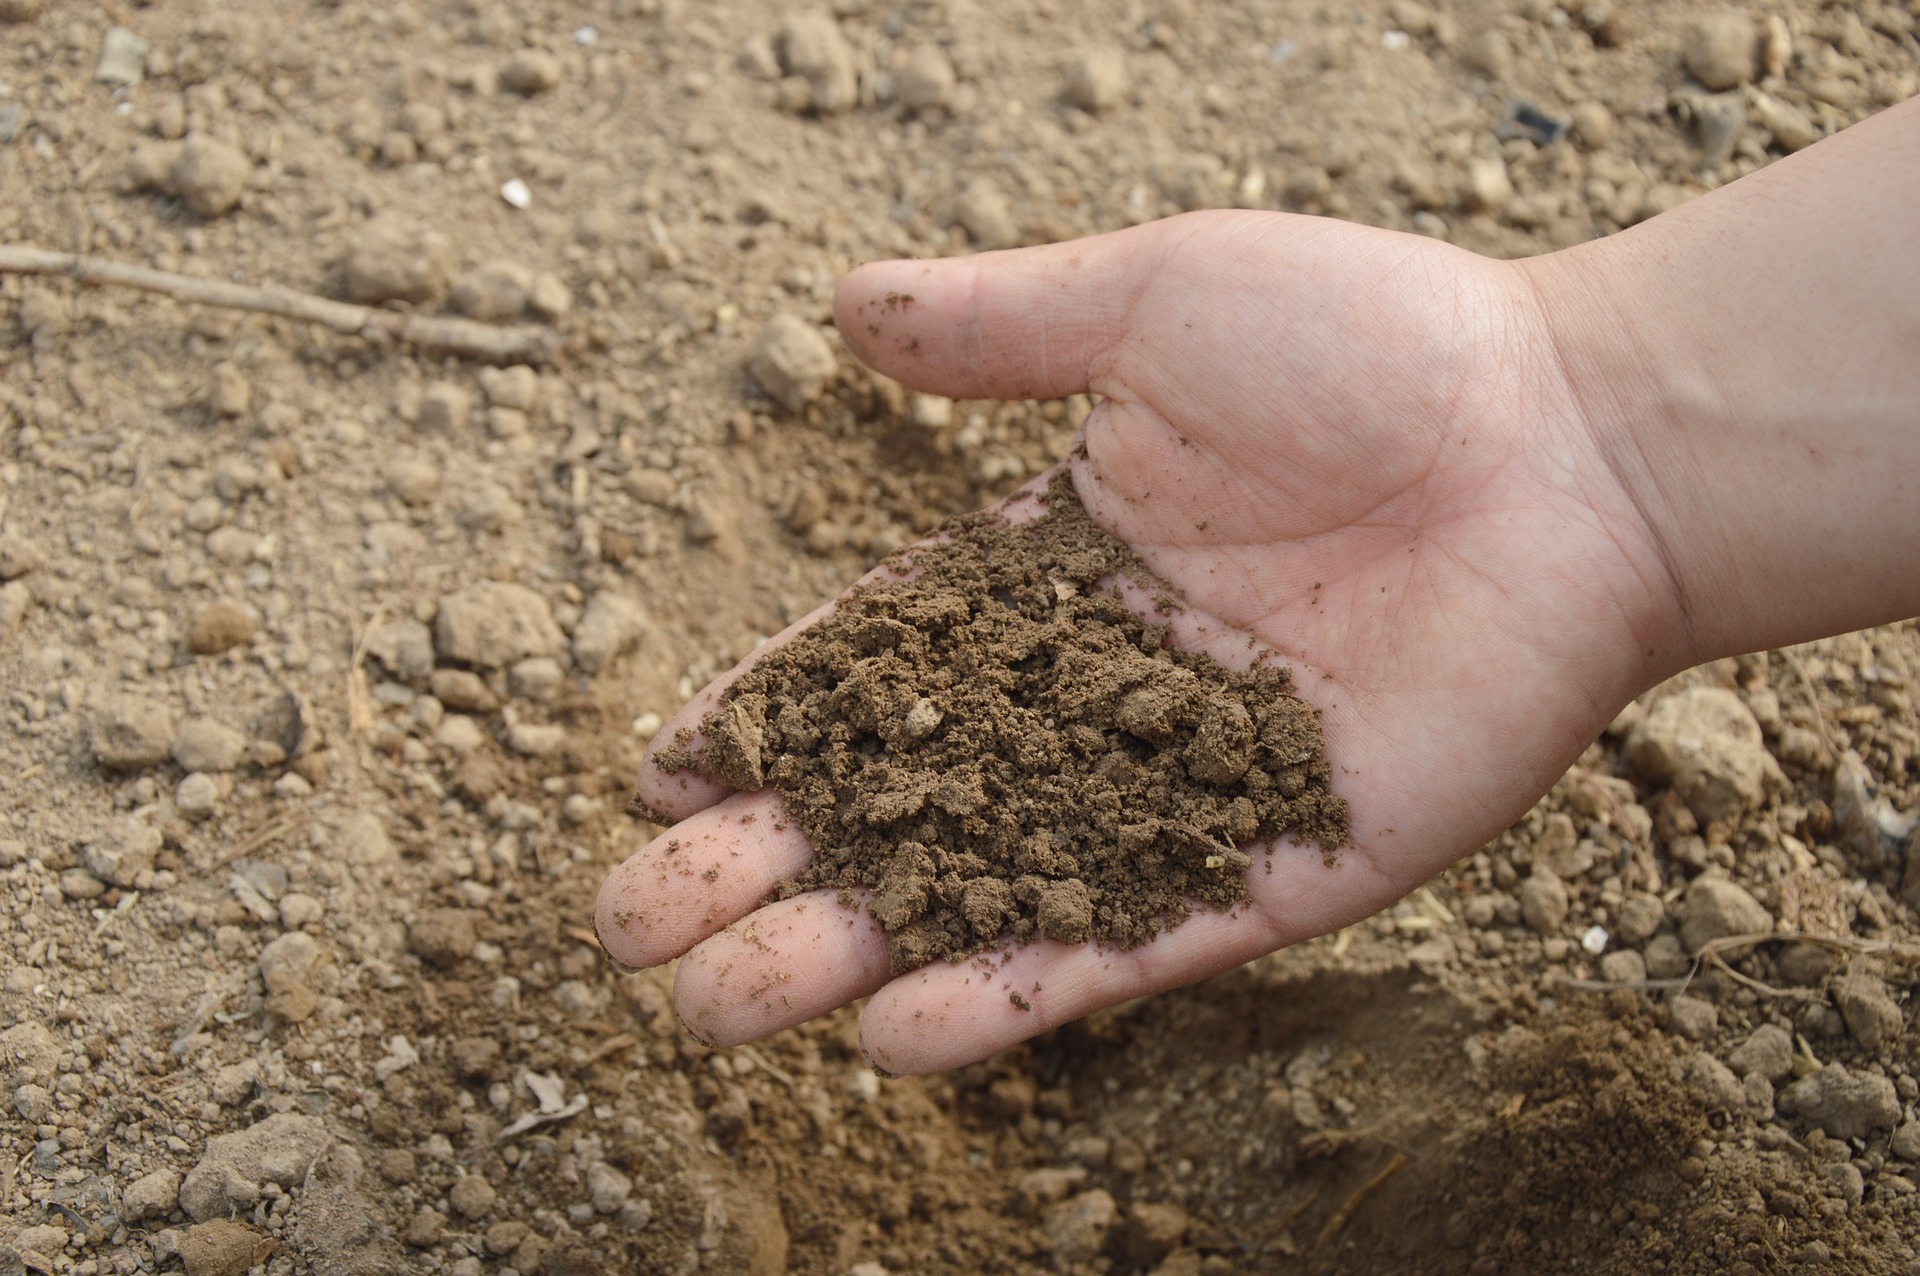 If you want to wait longer between applications, and it will need to be applied several times, we recommend using a slow-release fertilizer. As we said, the nutrients will break down over a longer period, so you won’t have to apply it as often. Apart from that, use a fertilizer that doesn’t contain too much nitrogen, because it will cause the grass to grow too fast so you will have to mow it more often. You want to make the grass as green as possible, but without growing too fast, so the ideal fertilizer mixture would be 20-5-10. How Do I Apply it Best? Professionals usually apply the fertilizer by spraying it on the lawn and their plants. However, they do this regularly, so they know how to manage the equipment, spread it evenly and cover the entire surface, as well as how to factor in the wind that can affect the application. Homeowners, on the other hand, usually don’t need all these advanced techniques as their lawns are not that big or demanding. For them, it is recommended to use fertilizer in the form of granules and apply it with a spreader. What Kind of Spreader and Which Setting to Use? There are different types of spreaders available for fertilization. A broadcast spreader has a type of a wheel just below the hopper, so when you open the hopper and start the spreader, the wheel tosses the particles from the fertilizer in a path that is around four feet wide. Most homeowners choose this type because you don’t have to go across your lawn too many times and it spreads more evenly, so you don’t have to worry about burning the lawn or missing some areas. There is also a smaller hand broadcast spreader that you can use to fertilize smaller lawns. It has a handle that you spin by hand and the fertilizer is spread in diameter about four feet wide, just like with the regular broadcast spreader.
  Another type of spreader is a drop spreader, which is not very commonly used because it requires a bit more precision. The bottom of the hopper is in the form of a straight line, so when you push the spreader, the particles drop in a straight line as well, which requires you to be precise and careful. The markings of the hopper need to align with the wheel markings in order to avoid strips forming on the lawn. When it comes to the right spreader setting, you can rarely go wrong with that – just refer back to your fertilizer bag. On the backs of the bags are the charts showing you the brand and the model of the spreader you are using, so you can simply look at the settings recommended on the bag, and adjust the dial on your spreader accordingly. Ready to Spread Now that you’ve selected your fertilizer, your spreader, and read the setting instructions, you are ready to start fertilizing. Now you can empty the bag into the spreader, but just remember to close the hopper when you’re doing that so that it doesn’t simply spill on the floor. When you’re ready, open the hopper and start pushing it across the lawn. We recommend to start with the perimeter first, then work your way into the middle of the lawn. Great Lawn Requires Great Plans In the end, we recommend that you prepare for your lawn fertilization as best you can. This includes setting up a plan for the fertilization, as you will need to re-apply it several times. Most homeowners do it four to five times a year, and if you’re using a slow-release fertilizer, then you will need to do it approximately every eight weeks. The first “feeding” of fertilizer should be somewhere in mid-spring, and the rest in according intervals.
  Finally here is one helpful hint: you can plan your fertilization by following certain holidays, which will help you remember it better. So the first one would be on Easter, then Memorial Day, Labor Day, and lastly Halloween. Good luck fertilizing, we hope you enjoyed this helpful guide presented to you by Harper Special Services, a best general contracting company in Savannah GA.